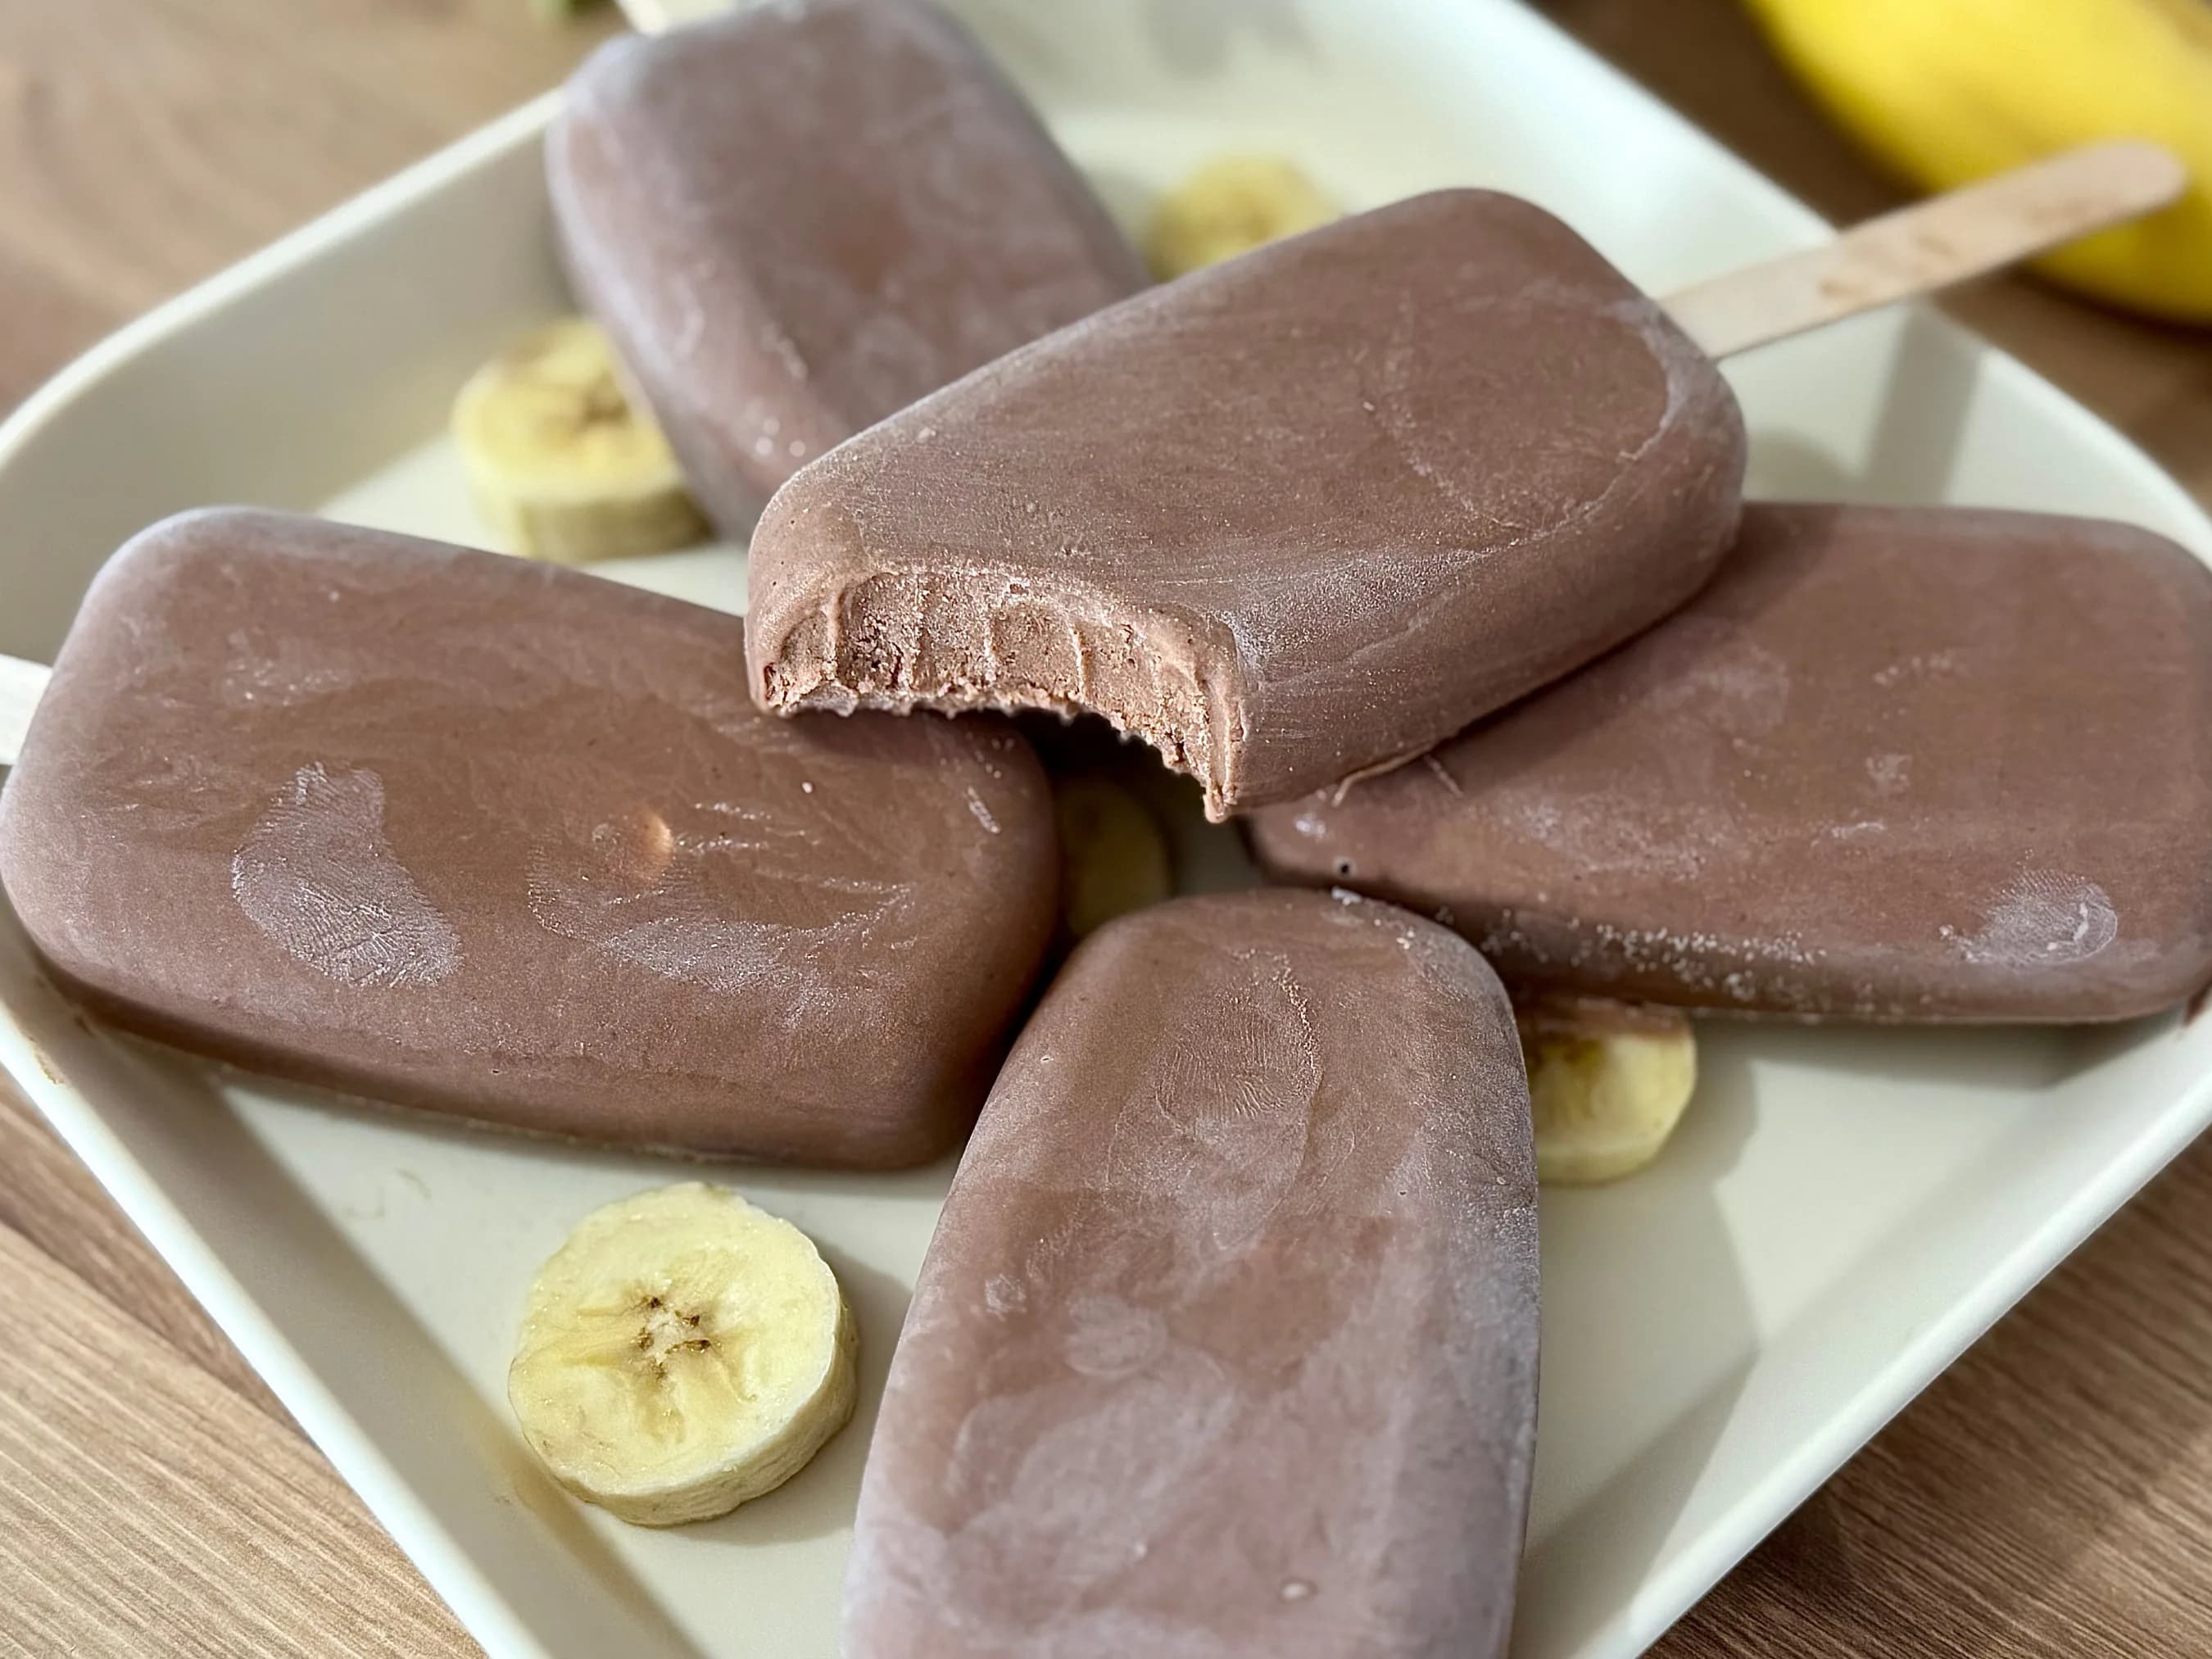
Homemade Creamy Chocolate Banana Popsicles
Written by Kenny Ekerin
Fact Checked by Mindsmaking Professionals
1st, December, 2025
This post may contain affiliate links. Please read our disclosure policy.
Naturally sweet and made with real ingredients, these creamy banana chocolate popsicles are the perfect no-sugar summer treat—easy to make, nourishing, and loved by kids and adults alike.
Reasons To Love This Homemade Creamy Chocolate Banana Pops
Naturally Sweet and Toddler-Friendly
One of the biggest reasons parents love these popsicles is that they’re naturally sweetened—no added sugar, syrups, or sweeteners. The ripe bananas and soft Medjool dates do all the sweetening, making these chocolate banana popsicles perfect for toddlers who are just beginning to explore new tastes and textures. They're sweet enough to feel like a treat, but gentle enough for even the tiniest taste buds.
Full of Wholesome, Nutrient-Rich Ingredients
These popsicles aren’t just tasty—they’re made with real, nourishing ingredients you can feel good about. From the potassium and fiber in bananas to the healthy fats in natural peanut butter and the probiotics in yogurt, each ingredient serves a purpose. You’re not just giving your child a snack; you’re giving them something that helps fuel growth, support digestion, and keep them feeling satisfied.
Smooth, Creamy Texture Little Ones Love
Because of the blended bananas, peanut butter, and yogurt, these popsicles have a rich, creamy texture that’s soft and soothing—especially great for teething babies. They're easy to gum and melt slowly in the mouth, making them safe and enjoyable for little ones who might not be ready for crunchy or overly icy snacks.
Easy to Make, Even Easier to Store
Homemade doesn’t have to mean complicated. These chocolate banana popsicles are incredibly easy to throw together in a blender with just a few simple ingredients. Pour into molds, freeze, and you’re done! Once frozen, they store beautifully in a freezer-safe bag or container, making them a convenient go-to snack for busy days with your toddler.
Totally Customizable for Every Little Palate
One of the most fun things about these homemade popsicles is how flexible and customizable they are. You can switch up the yogurt to make it dairy-free, try different nut or seed butters, or even sneak in a few greens for extra nutrition. They're a great base recipe that you can adapt to suit your toddler’s evolving tastes or your family’s dietary needs.
A Guilt-Free Treat for the Whole Family
Even though they’re made with toddlers in mind, these creamy chocolate banana popsicles are a treat the whole family can enjoy. They taste like a chocolatey dessert, but with none of the added sugar or artificial ingredients you’ll find in store-bought versions. So go ahead—make a double batch and sneak one for yourself after the kids go to bed!
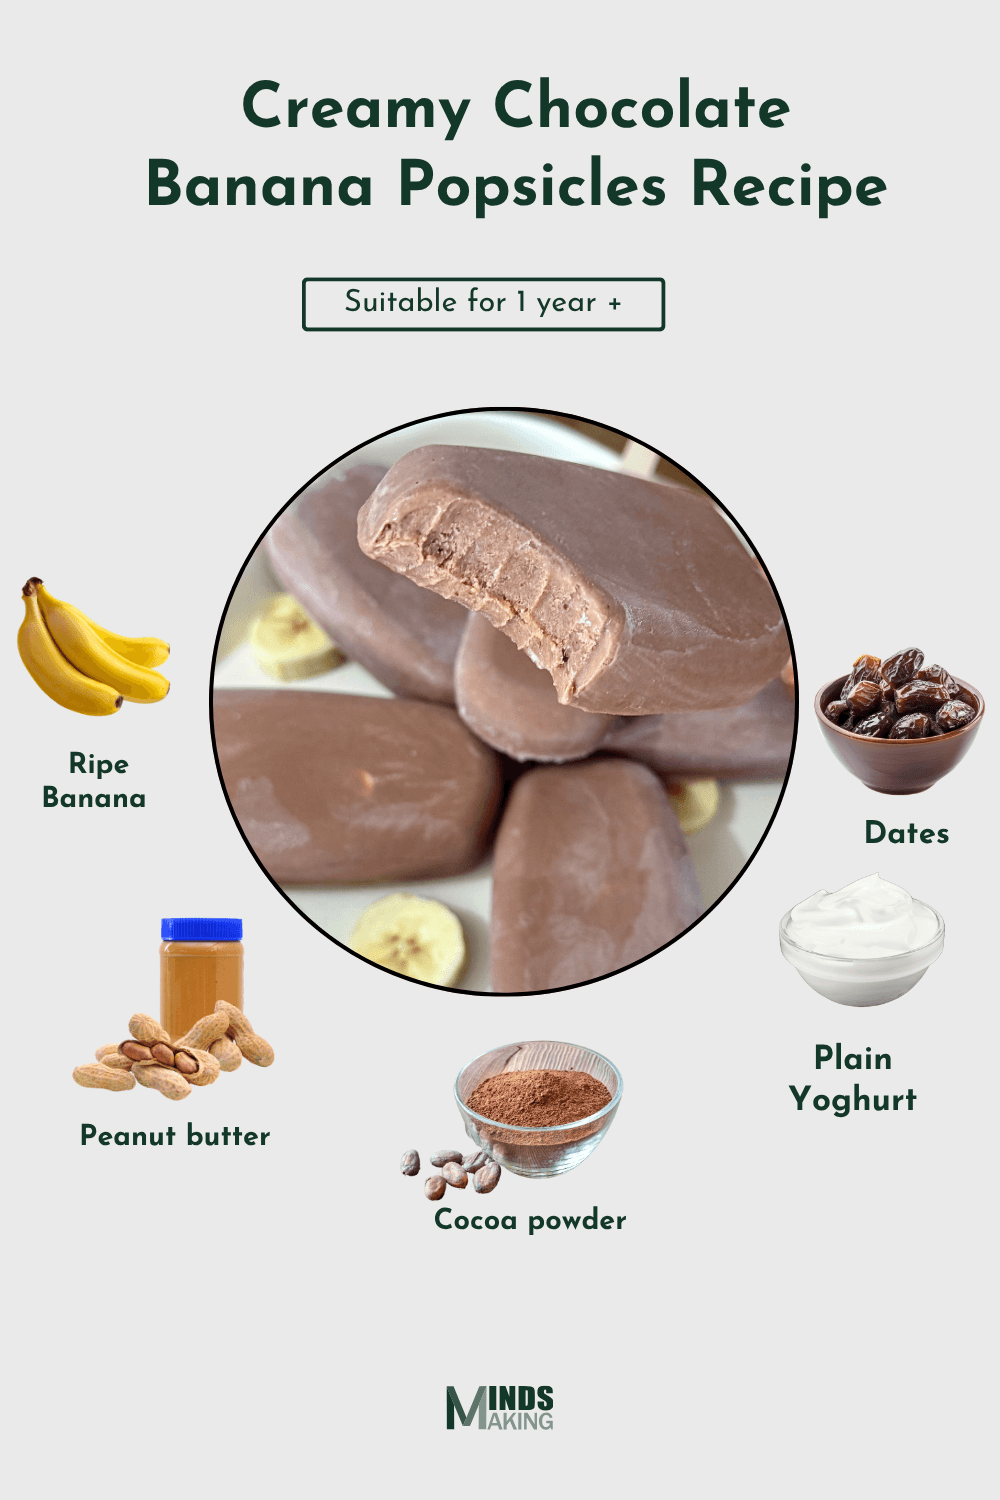
Creamy Chocolate Banana Popsicles Recipe
Ingredients
- 5 ripe bananas, broken into chunks (the riper, the sweeter!)
- 3 tablespoons natural peanut butter (choose smooth and unsweetened – or swap for almond or sunflower seed butter if there’s an allergy concern)
- 2 to 4 Medjool dates (adjust based on how sweet you want it)
- 2 tablespoons unsweetened cocoa powder
- 1/2 cup plain full-fat yogurt (Greek or regular – dairy or non-dairy based on your diet)
Mindsmaking
Instructions
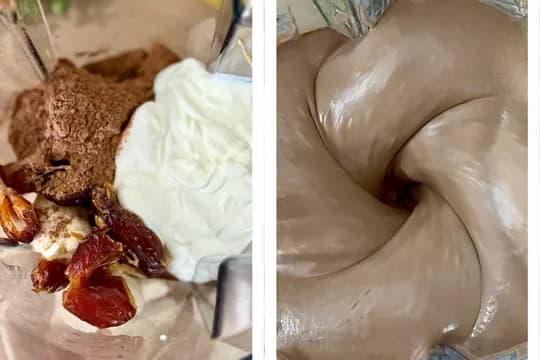
1. Prep the ingredients: Peel the bananas and break them into chunks. Remove the pits from the dates. If your dates are a little dry, you can soak them in warm water for 10 minutes to soften them up – this makes blending easier and ensures a smoother texture.
2. Blend until creamy: Add all the ingredients – bananas, peanut butter, dates, cocoa powder, and yogurt – into a blender. Blend on high until the mixture is completely smooth and creamy. Scrape down the sides as needed to make sure everything is evenly combined.
Mindsmaking
3. Taste and adjust: Give it a quick taste and add another date if you’d like it sweeter. The natural sweetness from the bananas and dates is usually enough, especially for little ones who aren’t used to added sugars.
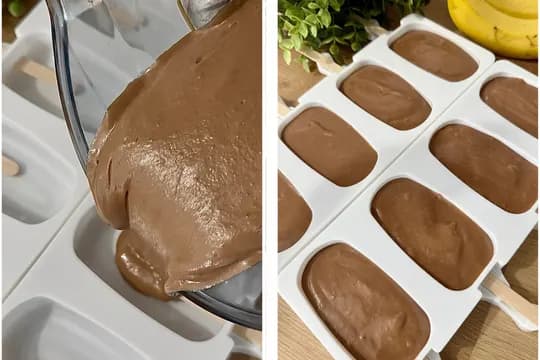
4. Pour into popsicle molds: Carefully spoon or pour the mixture into your popsicle molds. This recipe typically yields 8–10 popsicles, depending on the size of your molds.
Mindsmaking
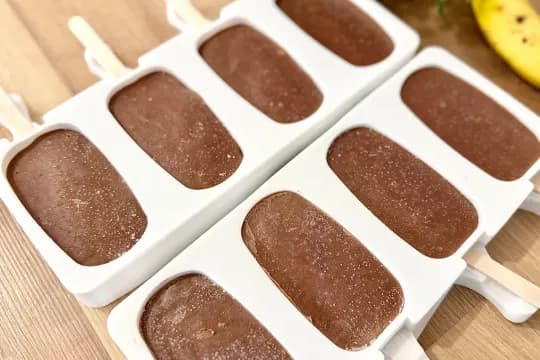
5. Freeze: Pop the molds into the freezer and let them set for at least 4–6 hours, or until completely frozen.
Mindsmaking
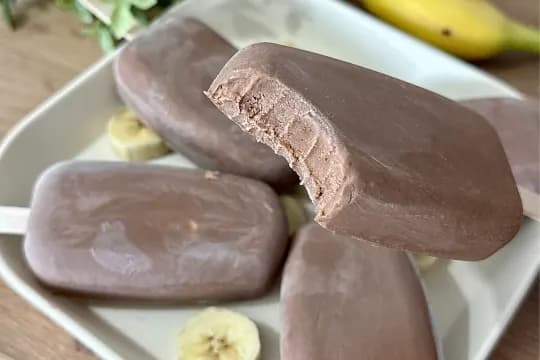
6. Serve and enjoy! When ready to serve, run the mold under warm water for a few seconds to help release the popsicle. Watch your little one’s face light up with that first creamy chocolatey lick!
Read This Next

Recipe Ebook
Essential Guide to Starting Solids for Babies 6 Months+ - LBH Top 70 Baby Puree & Porridge Recipes eBook.
Start your baby’s solids journey with confidence using this "70 Baby Purees & Porridges" eBook! Created with care, this digital guide is packed with nutrient-rich recipes for babies 6 months and older, including purees and porridges tailored to each stage of your baby’s development.
Mindsmaking
Tips For Success
Choose Ripe Bananas for Natural Sweetness
The key to delicious, toddler-friendly chocolate banana popsicles starts with your bananas. Make sure they’re ripe — we’re talking yellow with brown spots. The riper they are, the sweeter your popsicles will be, and that means you might not need as many dates to sweeten things up. Ripe bananas also blend much more smoothly, creating that ultra-creamy texture little ones love.
Soak the Dates for a Silky Smooth Blend
If your dates are a bit dry or firm, take a few extra minutes to soak them in warm water before blending. This softens them up and helps them break down more easily, making your chocolate banana popsicles extra creamy without any little chewy bits. This is especially helpful when making popsicles for toddlers who need super-smooth textures.
Use Natural Peanut Butter for Healthy Fats
To keep these popsicles healthy and toddler-approved, use natural, unsweetened peanut butter. It adds a creamy richness and healthy fats, which are great for growing toddlers. Make sure the peanut butter doesn’t contain added sugar or salt. If you’re concerned about allergies, you can easily swap it out for almond butter or sunflower seed butter — both are great alternatives.
Blend Until Completely Smooth
Don’t rush the blending process. Give your blender time to fully break down the bananas, dates, and peanut butter into a creamy, uniform mix. This step is important, especially when preparing chocolate banana popsicles for toddlers who need smoother textures for safe eating. Scrape down the sides of the blender if needed and keep blending until there are no chunks left.
Let Them Freeze Fully Before Serving
It can be tempting to serve them early, but give your popsicles at least 4–6 hours to fully freeze. This ensures they hold their shape when pulled from the mold and don’t fall apart in your toddler’s hands. Once frozen, you can run the molds under warm water for a few seconds to pop them out easily.
Store Smartly for Quick Snacks
If you’re making a bigger batch of these creamy chocolate banana popsicles, you can store extras in a freezer-safe bag or container once they’ve been fully frozen. Just lay them flat in the freezer until solid, then transfer. This way, you’ll always have a healthy, ready-to-go snack for your toddler on a warm day or after playtime.
Ingredient Substitutions And Additions
Swap Bananas with Other Fruits for Variety
Bananas are the star of these creamy chocolate popsicles, but if you’re looking to mix things up or your little one isn’t a fan, you can swap some of the banana with other naturally sweet fruits. Steamed and pureed sweet potato or ripe avocado adds a similar creamy texture and is full of nutrients, making it perfect for toddler-friendly popsicles. Mango purée or pear puree can also be added alongside banana to change the flavor while keeping that soft, smooth consistency toddlers love.
Change Up the Nut Butter
If peanut butter isn’t your go-to (or if your toddler has a peanut allergy), you can easily substitute it with almond butter, cashew butter, or even sunflower seed butter for a nut-free option. These all provide the same creamy richness and healthy fats that make these chocolate banana popsicles so satisfying and nutritious. Just make sure the nut butter you choose is smooth and free from added sugar or salt—especially important when serving to toddlers.
Make It Dairy-Free with Yogurt Alternatives
For little ones who are dairy-sensitive or if your family follows a dairy-free lifestyle, the yogurt in this recipe can be swapped for a plant-based version. Coconut yogurt works especially well in these chocolate banana popsicles—it adds creaminess and a subtle tropical flavor that pairs beautifully with the cocoa and banana. You could also use oat, almond, or soy yogurt, depending on your toddler’s dietary needs.
Add Superfoods for an Extra Nutrient Kick
If you want to make your creamy chocolate banana popsicles even more nutritious, try blending in a small handful of toddler spinach, a teaspoon of ground flaxseed, or a spoonful of chia seeds. These additions won’t change the flavor much but will boost the fiber, iron, and healthy fats—great for toddlers in their growing years. The cocoa powder and banana do a great job at masking any mild flavors from greens, so it’s a win-win for picky eaters.
Give It a Texture Twist for Older Toddlers
Once your toddler is comfortable with more textures, you can stir in finely chopped soft fruits like strawberries or mix in a few mini chocolate chips (for kids over age 2) right before pouring the mix into the molds. This gives a fun texture contrast that older toddlers might enjoy, while still keeping the core recipe wholesome and naturally sweetened.
Storage Tips
Let Them Freeze Completely First
Before thinking about storage, make sure your chocolate banana popsicles are fully frozen. This usually takes about 4 to 6 hours, depending on your freezer and the size of your molds. A fully frozen popsicle holds its shape better and is much easier to handle—especially important for toddlers still mastering their grip and for toddlers with small hands.
Release Popsicles Gently from the Molds
Once the popsicles are frozen solid, it’s a good idea to remove them from the molds for easier storage.
Store in a Freezer-Safe Bag or Container
After unmolding, place the chocolate banana popsicles in a single layer on a tray or plate lined with parchment paper. Let them freeze like that for about 30 minutes so they firm up again outside the mold. Then transfer them to a freezer-safe bag or an airtight container, separating layers with parchment paper if stacking. This keeps them from sticking together and protects them from freezer burn.
Label with Dates and Flavors
If you're making a big batch or experimenting with different flavor combinations, label your storage bag or container with the date and ingredients. This is especially helpful when rotating snacks for toddlers, or if you’re managing allergies. It also helps you use the oldest pops first, keeping everything fresh.
Use Within 3 Months
For best quality, enjoy your creamy chocolate banana popsicles within three months. They might last a bit longer, but the texture and flavor are best when they’re relatively fresh. Luckily, they tend to disappear quickly—especially once your toddler discovers them!
Serve Straight from the Freezer
Just pull one out and serve straight from the freezer. If it’s too hard for a younger toddler, you can let it sit for a minute or two at room temperature, or run it under a bit of warm water to slightly soften the outside for easier licking and less frustration.
Nutrition
Suitable for 1 year
per serving, approximate):
- Calories: 120–140 (depends on yogurt and peanut butter)
- Protein: 3–4g (from peanut butter and yogurt)
- Healthy Fats: 4–6g (from peanut butter and yogurt)
- Carbohydrates: 20–24g (from bananas and dates)
- Fiber: 3–4g (from bananas and dates)
- Vitamin C: from ripe bananas
- Calcium: from yogurt
- Iron: from cocoa powder and dates
- Omega-3s: trace amounts from peanut butter (if natural)
Note: Nutritional values are estimates and may vary based on ingredient brands and portion sizes.
Frequently Asked Questions
Are these popsicles sweet enough without added sugar?
Absolutely! The ripe bananas and soft dates provide plenty of natural sweetness, especially for toddlers who haven’t been exposed to sugary foods. They’ll taste naturally sweet, chocolatey, and delicious without needing anything artificial.
Can I make these popsicles dairy-free?
Yes, simply use a dairy-free yogurt like coconut, almond, or soy-based yogurt. It will still create that creamy texture while keeping the popsicles suitable for toddlers who are dairy-sensitive or allergic.
How long do these popsicles last in the freezer?
They’re best enjoyed within 3 months for optimal taste and texture. Just store them in a freezer-safe bag or an airtight container to prevent freezer burn and keep them fresh.
Do I need a high-speed blender to make this recipe?
A high-speed blender makes the mixture extra smooth. But a regular blender works too—just soak the dates first and blend a bit longer until everything is fully combined and creamy.
How many popsicles does this recipe make?
Depending on the size of your molds, you’ll get around 8 to 10 popsicles. If you’re using smaller, toddler-sized molds, you might get a few more.
Can older kids or adults eat these too?
Definitely! These creamy chocolate banana popsicles are made with wholesome, real ingredients that make them a tasty and guilt-free treat for the whole family—even parents who want something sweet but nourishing.
What if I don’t have dates—can I still make them?
If you're out of dates, the popsicles can still work with just ripe bananas for sweetness. They won’t be quite as rich or sweet, but they’ll still be creamy. You could add a touch of applesauce or mashed pear if needed.
Was this article helpful?
How many stars are you giving this article?
Leave a comment
Your email address will not be published.
Comments
More From Recipe
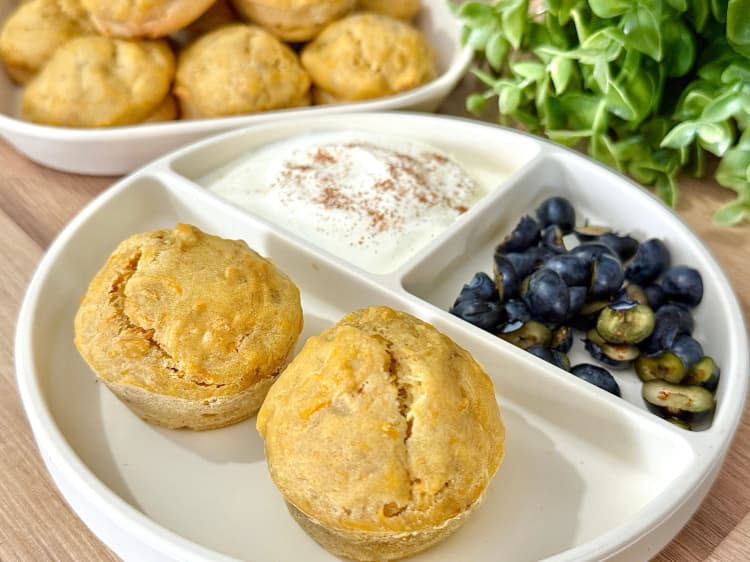
Carrot & Banana Muffins

Banana Carrot Puree

Easy Greek Yoghurt Banana Pancakes

Avocado Banana Pancakes

Apple Carrot Porridge
Mango Icecream (2 ingredients)
Get new recipes to your inbox
Subscribe to our weekly newsletter and get new recipes sent to your inbox!