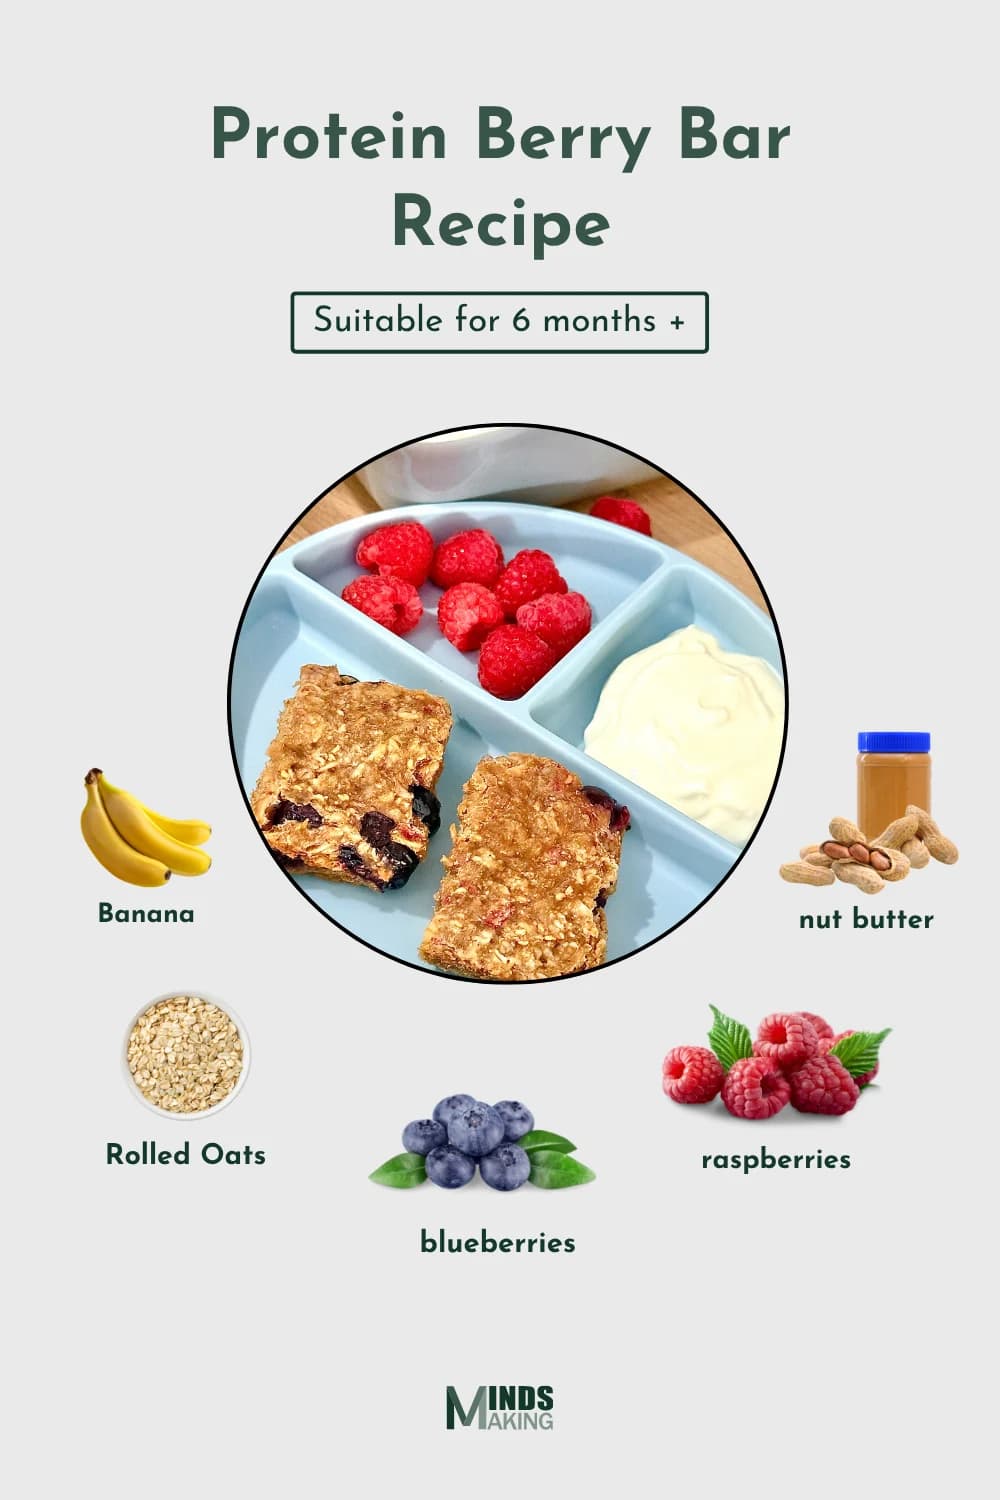
Protein Berry Bar
Written by Kenny Ekerin
Fact Checked by Mindsmaking Professionals
31st, July, 2025
This post may contain affiliate links. Please read our disclosure policy.
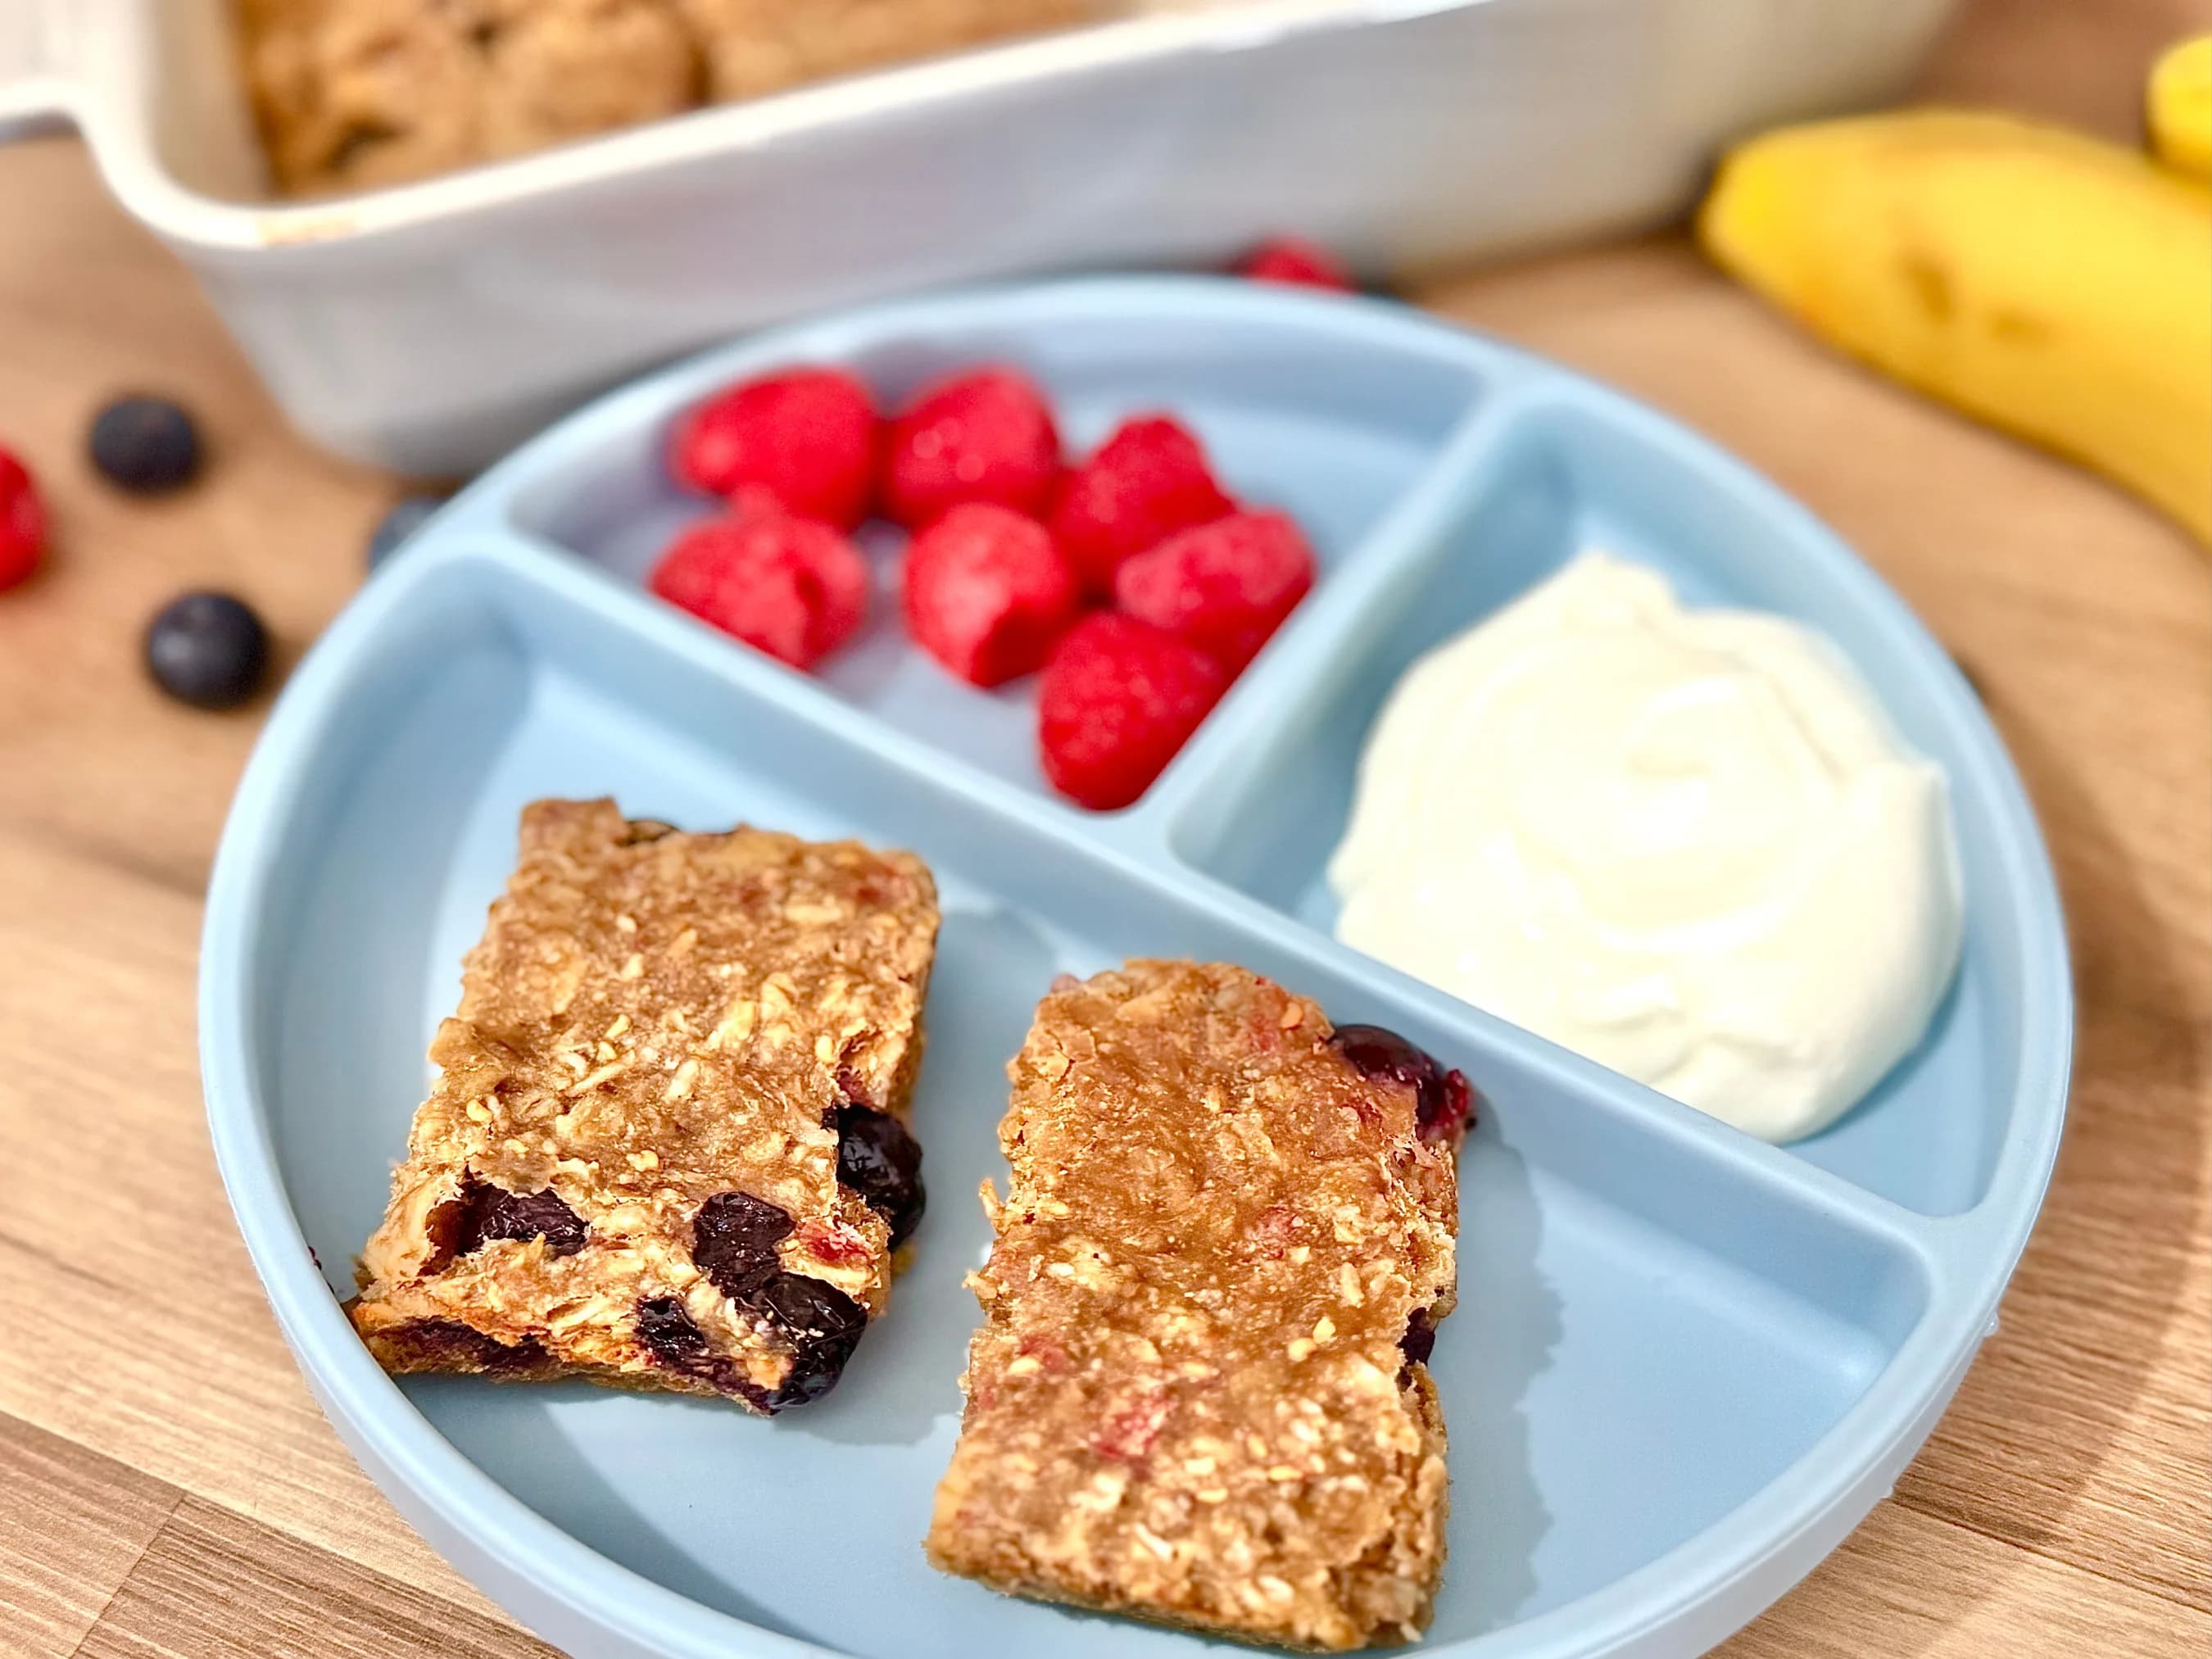
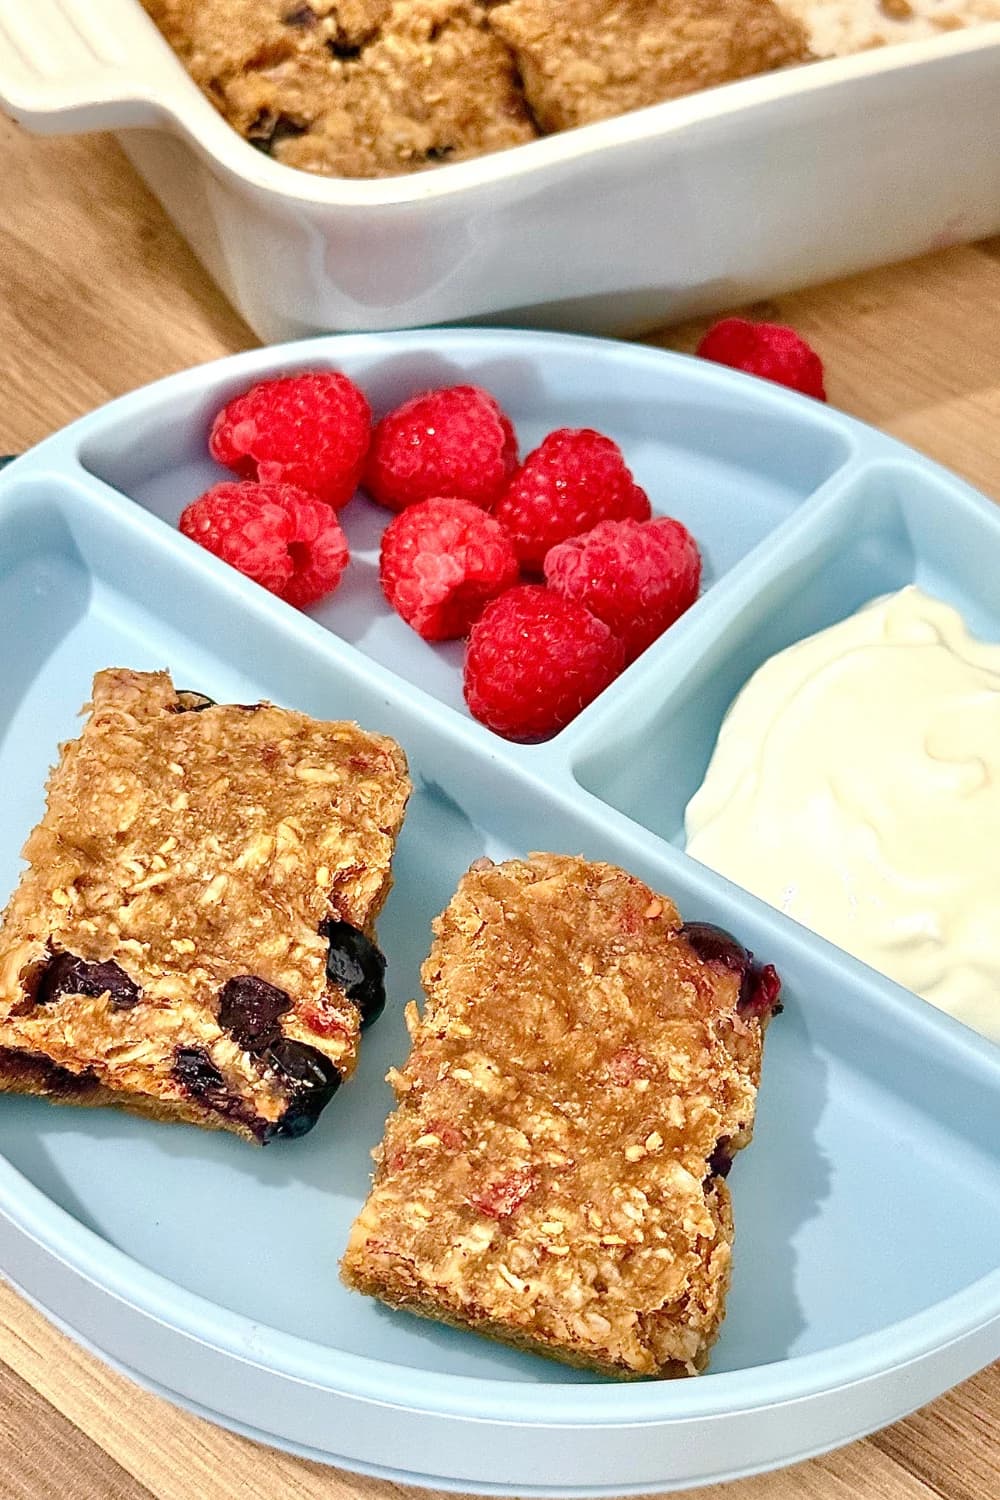
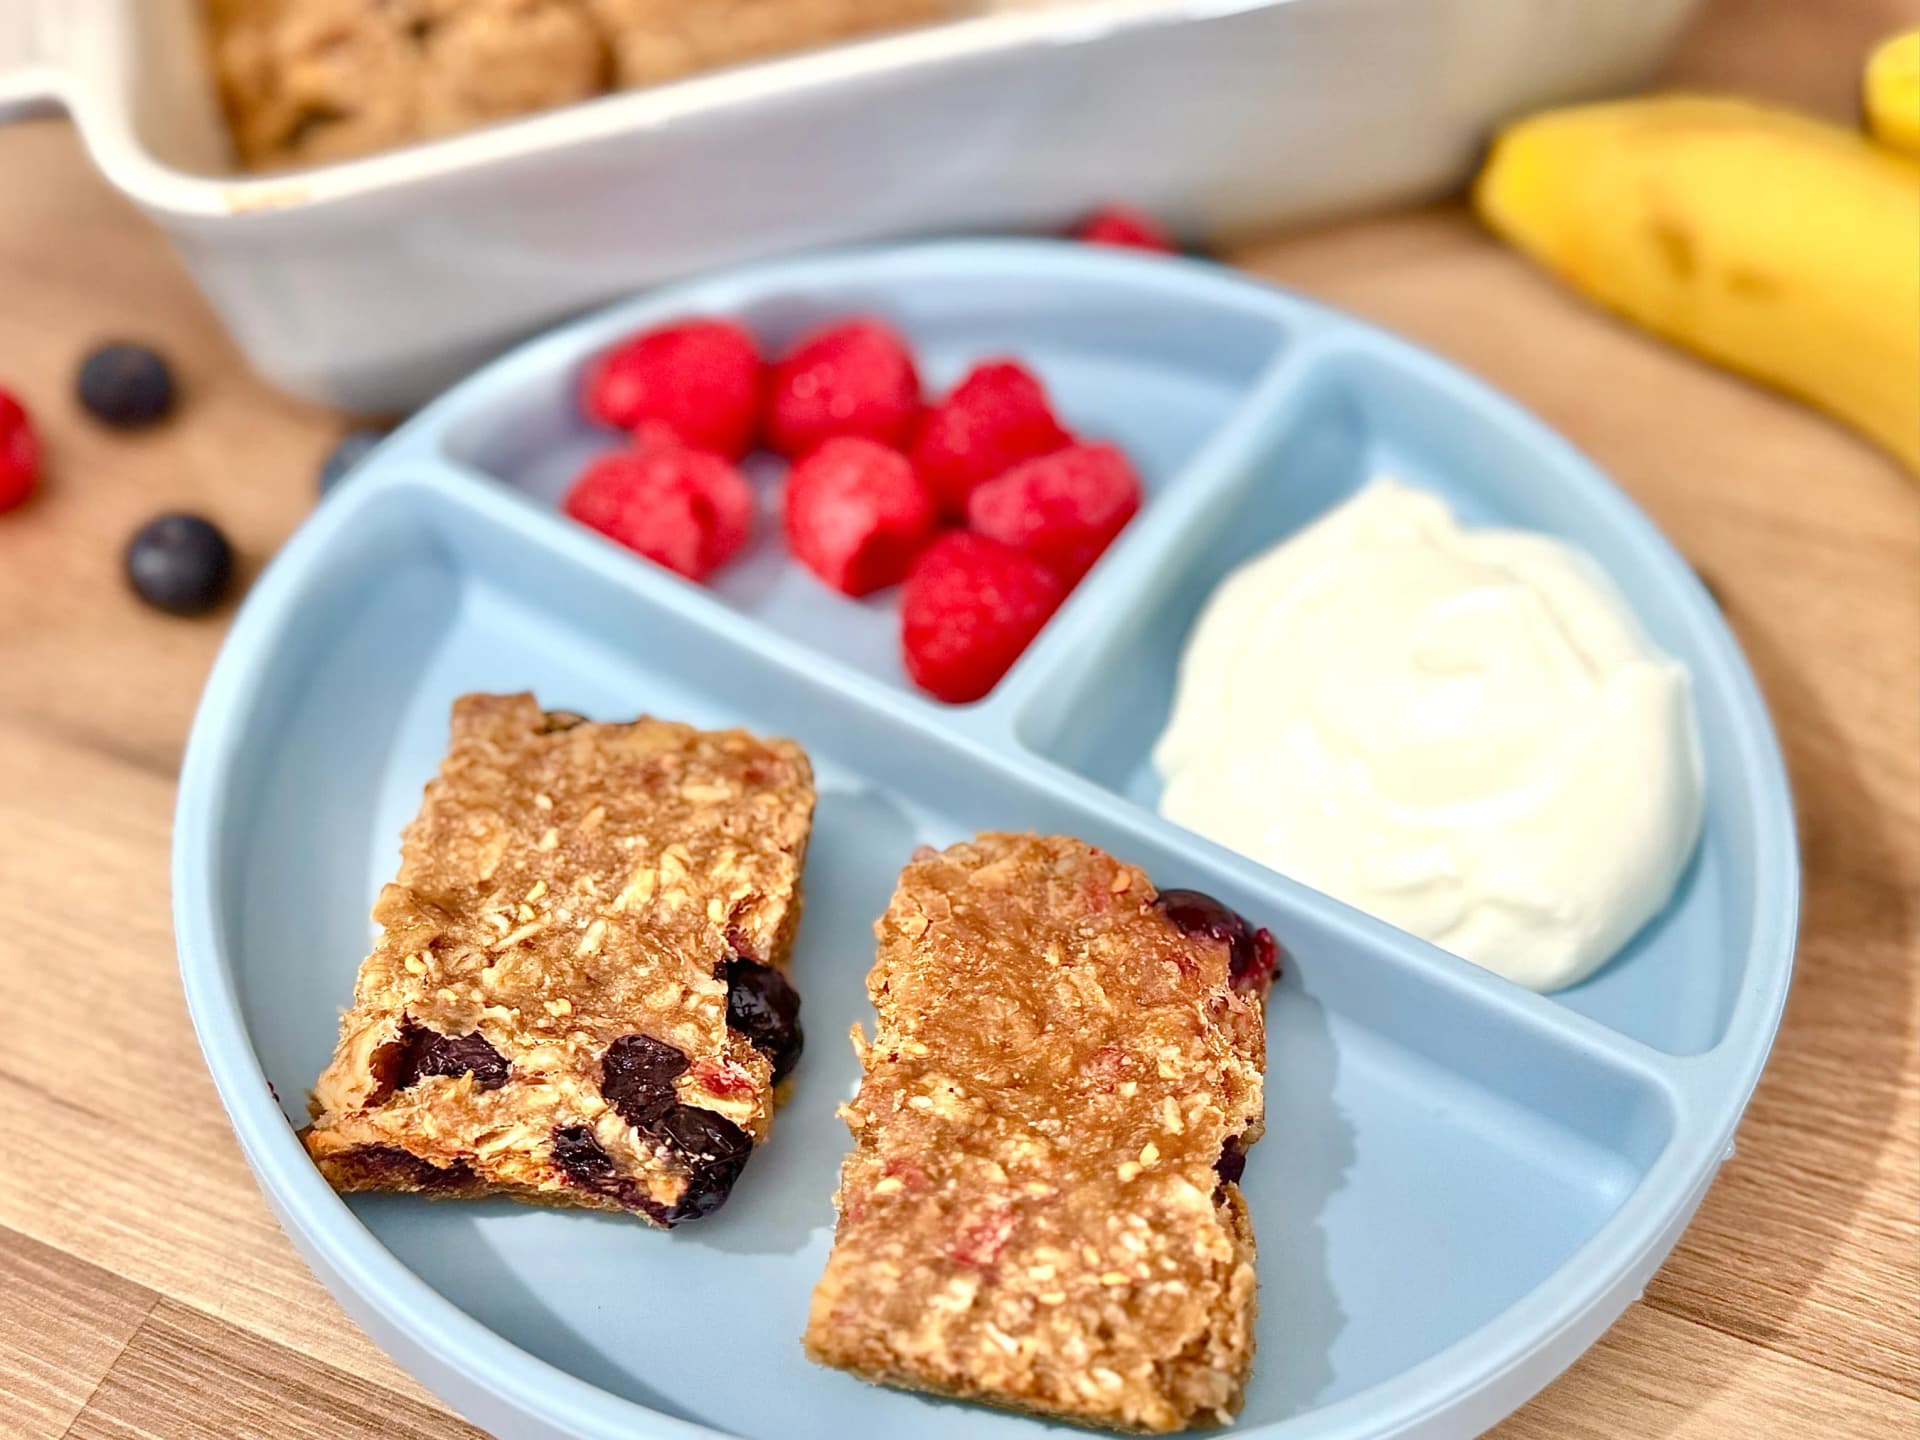
These protein berry bars are naturally sweet, protein-rich and made with bananas, oats, and nut butter. This baby-friendly recipe is perfect for snacks, lunchboxes, or baby-led weaning.
If you’re looking for healthy snacks that are nutritious, simple, and loved by babies, toddlers, and adults alike, this protein berry bar recipe would be a great choice. It’s made with just a handful of pantry staples like ripe bananas, juicy berries, oats, and smooth nut butter. No refined sugar, no dairy, no eggs; just whole ingredients that fuel the body.
These soft, naturally sweet bars are perfect for baby-led weaning or toddler snack time. They're also fantastic for lunchboxes or quick breakfasts on the go. And the best part? They’re freezer-friendly, so you can prep once and have a stash ready whenever hunger strikes.
Why You’d Love This Protein Berry Bar
- Perfect for babies, toddlers, and adults alike
- Naturally soft, easy to chew, and great for self-feeding
- Packed with fiber, vitamins, and antioxidants
- Freezer-friendly and easy to prep ahead
- Customizable for food allergies or dietary preferences
- A sneaky way to add fruits to your child’s plate without the struggle
- Made with 5 wholesome ingredients—no refined sugar, dairy, or eggs
- Great for lunchboxes, quick breakfasts, or anytime
Prep time: 7 minutes
Cook time: 25–30 minutes
Yields: 3–4 portions
How to Make this Protein Berry Bar
Ingredients
- 2 ripe bananas (peeled)
- ⅓ cup raspberries (fresh or frozen)
- ⅓ cup blueberries (fresh or frozen)
- 2 tbsp smooth nut butter
- 1 cup rolled oats
Read This Next

Recipe Ebook
Essential Guide to Starting Solids for Babies 6 Months+ - LBH Top 70 Baby Puree & Porridge Recipes eBook.
Start your baby’s solids journey with confidence using this "70 Baby Purees & Porridges" eBook! Created with care, this digital guide is packed with nutrient-rich recipes for babies 6 months and older, including purees and porridges tailored to each stage of your baby’s development.
Instructions
1. Prep your Oven
Preheat the oven to 175°C (350°F). Lightly grease or line a small baking dish with parchment paper.
2. Mash the Bananas
Mash the bananas directly in the dish using a fork or a masher until they become smooth.
3. Combine Ingredients
Add the berries, nut butter, and rolled oats to the mashed bananas. Mix thoroughly until the ingredients are well combined. Flatten the mixture into an even layer using the back of a spoon or spatula.
4. Bake
Bake for 25–30 minutes, or until the top is golden and firm to the touch.
5. Cool and Serve
Cool for 10 minutes, then slice into bars or squares. Make sure it cools completely before serving or storing.
Tips for success
Use overripe bananas
Overripe bananas aren’t just easier to mash, they’re also naturally sweeter and more flavorful. Their soft texture binds the ingredients better, which is especially helpful when you’re not using eggs or added sugars. Look for bananas with brown spots or fully browned skins.
Swap nut butters in case of an allergy
If your child has a nut allergy or your child’s care setting (like nursery or daycare) has a no-nuts policy, you can easily swap almond or peanut butter for seed-based alternatives like sunflower seed butter or tahini. These still add creaminess, fat, and protein without triggering allergies.
Mix gently if using frozen berries
Frozen berries can bleed color into the mixture and create excess moisture. To prevent soggy bars or overly wet batter, add them frozen (not thawed) and stir gently. This keeps the color distribution nicer and the texture more consistent.
Press firmly for better bars
Pressing the mixture down evenly and firmly in the pan helps the bars bake into a solid, cohesive shape. If you skip this step or press too lightly, they may fall apart or become crumbly after baking. Use the back of a spoon, a spatula, or even slightly wet hands to compact the mixture.
Serving suggestions
Slice the cooled bars into small sticks or soft bite-sized cubes. These are great for self-feeding babies from 6 months who are ready for finger foods. Their soft texture makes them easy to hold and chew (or gum).
Serve the bars with a side of plain Greek yogurt, mashed avocado, or soft cheese to create a more balanced mini-meal. These additions provide extra fats and proteins, which support healthy development.
These bars stay intact and travel well. They make a great lunchbox snack paired with fruits, veggie sticks, and a small sandwich. They're also tasty when cooled, which is ideal for preschool or school snacks.
Warm a bar slightly and drizzle with a little more seed or nut butter for a cozy, nutrient-dense breakfast. Serve with milk or a fortified plant-based alternative to round out the meal.
How to store
In the Fridge (short-term)
Let the bars cool completely before transferring to an airtight container. Store in the fridge for up to 4 days. Chilling helps firm up the bars even more and maintains their freshness and texture.
In the Freezer (long-term)
Wrap each bar individually in parchment or wax paper, then store in a reusable freezer bag or container. Freeze for up to 2 months. To serve, simply thaw overnight in the fridge, or pop into a lunchbox straight from the freezer, and they’ll defrost by snack time.
Nutrition
(Per serving, approximate)
- Calories: 175 kcal
- Carbohydrates: 27g
- Protein: 5g
- Fat: 6g
- Saturated Fat: 1g
- Polyunsaturated Fat: 1g
- Monounsaturated Fat: 2g
- Trans Fat: 0g
- Cholesterol: 0mg
- Sodium: 2mg
- Potassium: 290mg
- Fiber: 4g
- Sugar: 7g
- Vitamin A: 25 IU
- Vitamin C: 4 mg
- Calcium: 20 mg
- Iron: 1 mg
Note: Nutritional values are estimates and may vary depending on pasta type, cheese, and bean variety used.
Frequently Asked Questions
Can I use frozen berries?
Yes! Frozen berries are just as nutritious as fresh ones and are often more convenient. To avoid too much moisture (which can lead to soggy bars), mix them in while still frozen and avoid over-stirring. Don’t thaw beforehand.
Can I make these bars nut-free?
Yes! Use sunflower seed butter, tahini, or soy nut butter as a substitute. These offer a similar creamy texture and nutritional value, making the recipe safe for kids with nut allergies or nut-free schools and daycares.
Are these bars good for baby-led weaning?
Yes! The soft, dense texture makes them ideal for their little hands and mouths. They’re naturally sweetened, free of added sugar, and easy to grip. Just cut into age-appropriate shapes and always supervise while eating.
Can I add extra ingredients like chia or flax seeds?
Yes! Adding 1–2 tablespoons of ground flaxseed or chia seeds can enhance the fiber and omega-3 content. These also help bind the bars slightly, adding to their nutritional and structural value.
What if I want them sweeter?
For older children or adults who prefer a touch more sweetness, you can mix in 1–2 teaspoons of maple syrup, date syrup, or a few finely chopped dates. Keep in mind the base is already subtly sweet from bananas and berries.
Do they hold up in lunchboxes?
Yes! They're designed to hold their shape and won't crumble easily. After cooling, they stay firm yet soft and can be packed with minimal mess. Wrap individually or place in a container to avoid squishing.
Was this article helpful?
How many stars are you giving this article?
Leave a comment
Your email address will not be published.
Comments
More From Recipe
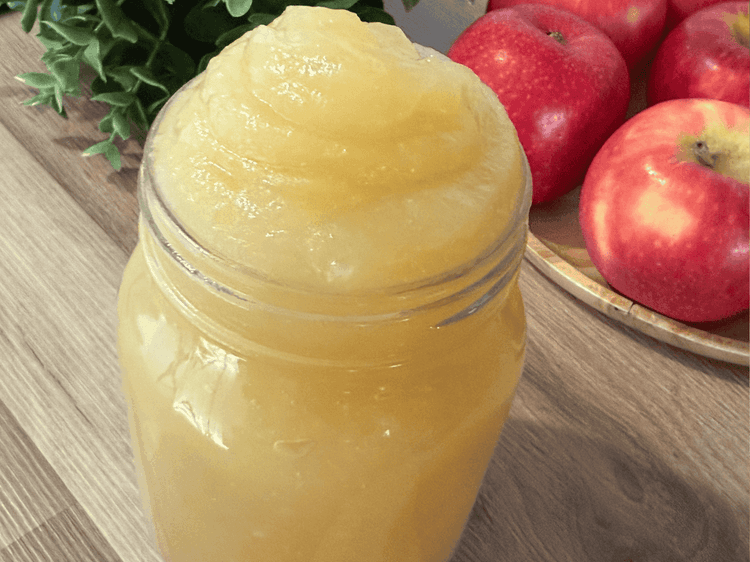
Homemade Sugar-Free Applesauce
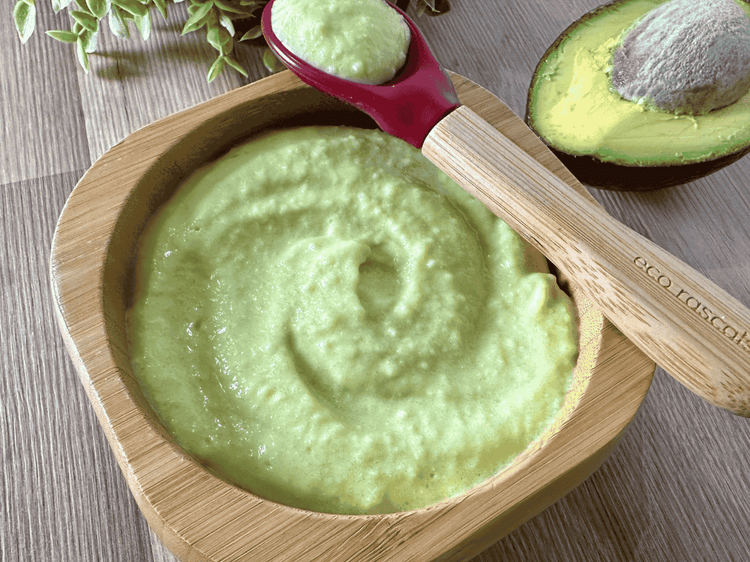
Avocado Rice Puree
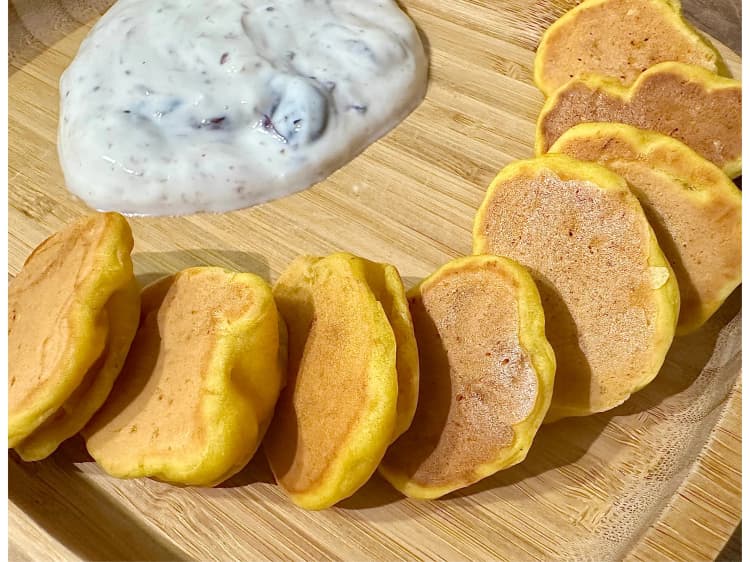
Mini Pumpkin Banana Pancakes

Eggless Banana Applesauce Muffins
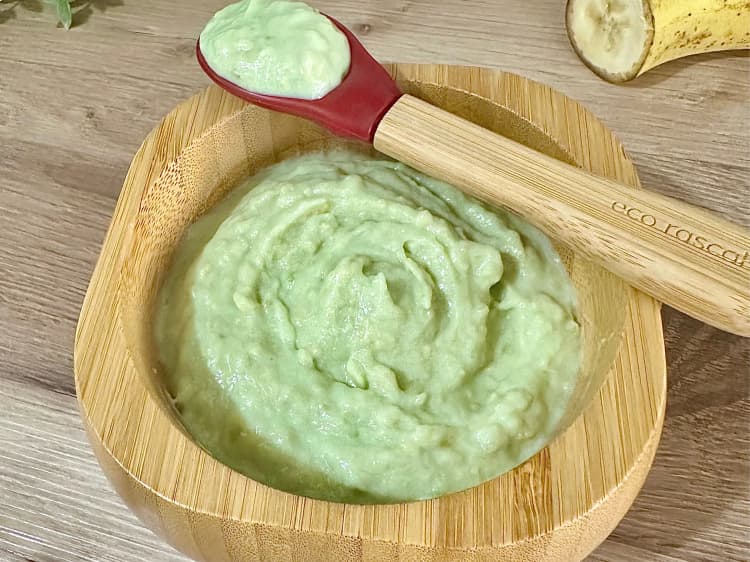
Banana Avocado Puree
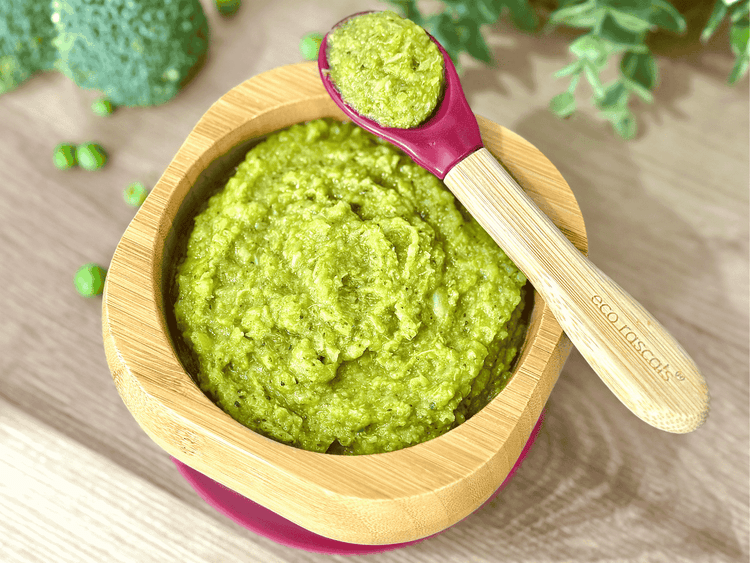
Broccoli & Pea Curry Purée
Get new recipes to your inbox
Subscribe to our weekly newsletter and get new recipes sent to your inbox!